
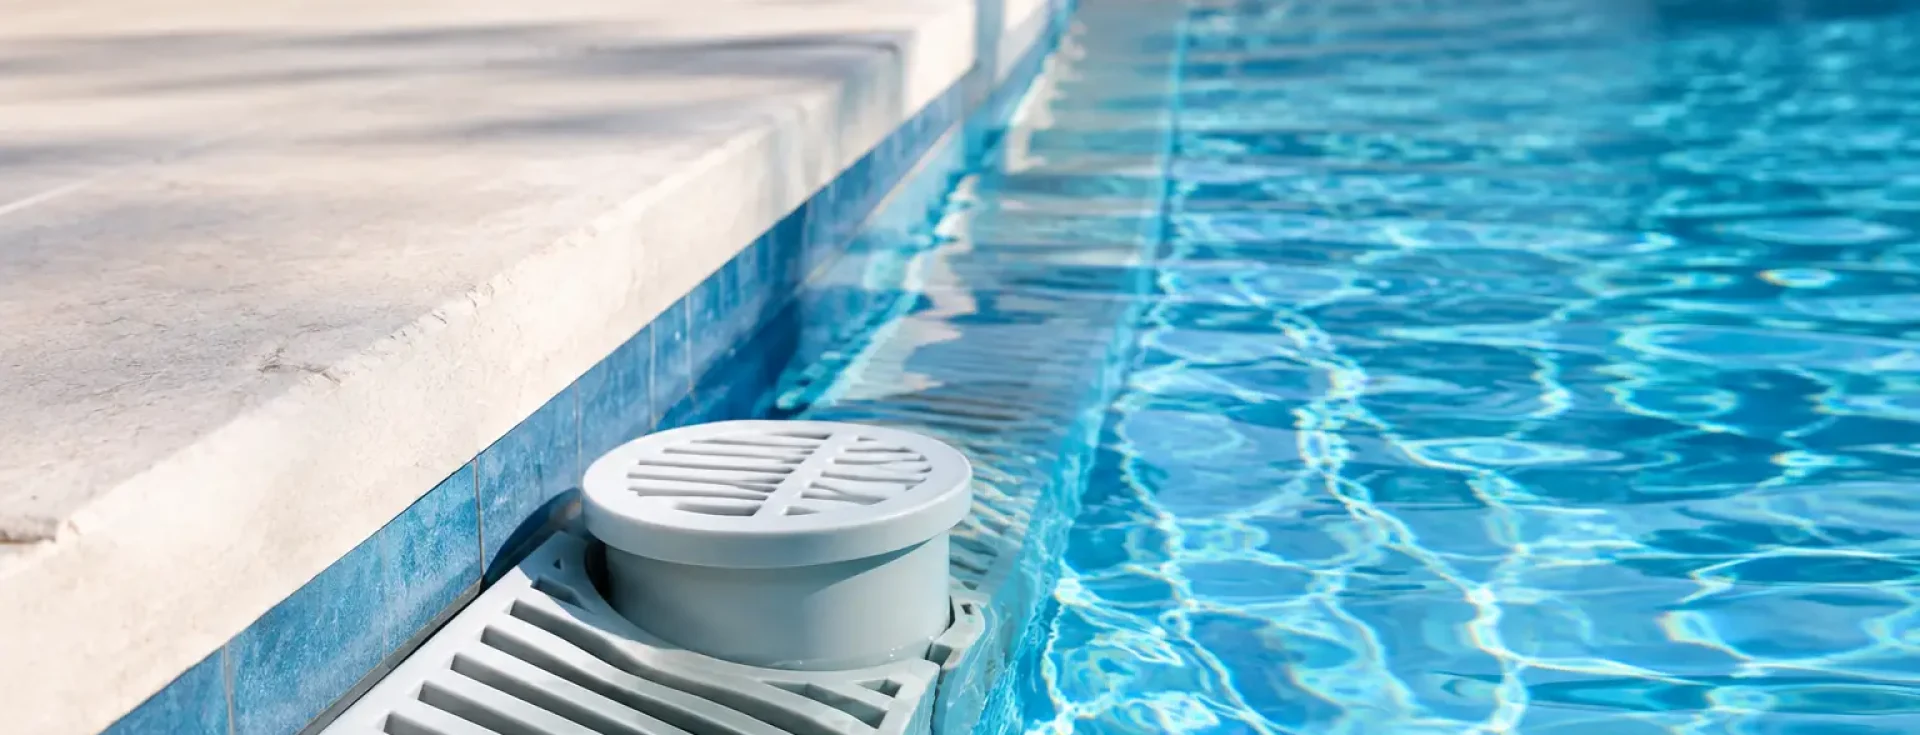
A luxury pool should look controlled even when swimmers enter the water, heavy rain arrives, or the automatic fill system operates. To install a pool overflow drain correctly, the drainage route must be engineered as part of the pool shell, waterproofing system, and surrounding landscape – not treated as a minor finishing detail. The right installation protects the deck, prevents staining and washout, and preserves the refined appearance expected of premium residential and commercial properties.
For villas, hotels, residential developments, and high-traffic facilities, an overflow drain is a practical safeguard with a visible impact on property value and operational reliability. Its performance depends on accurate levels, quality fittings, suitable pipe sizing, and a compliant discharge plan.
What a Pool Overflow Drain Does
A pool overflow drain manages water that rises above the intended operating level. This can happen after rainfall, when bathers displace water, during top-up cycles, or when a level-control component malfunctions. Rather than allowing excess water to spill across coping stones and into the deck finish, the overflow point directs it into a dedicated drainage line.
This is different from a perimeter overflow or deck-level pool system. In a true overflow pool, water continuously passes over a channel or slot and returns to a balance tank for recirculation. A conventional skimmer pool overflow drain is usually a higher-level emergency or relief outlet that operates only when water exceeds the set level. Both systems require thoughtful hydraulic design, but their pipework and operating purpose are different.
For a premium project, the overflow point should be discreet without being inaccessible. It needs to sit at the correct elevation, integrate cleanly with the interior finish or skimmer arrangement, and remain serviceable after the project is complete.
Plan the Drain Before Construction Begins
The best time to define overflow drainage is during the pool design and excavation stage. Retrofitting an overflow drain into a completed pool can be possible, but it may require cutting finished surfaces, disturbing waterproofing, and rebuilding sections of the deck. Early coordination avoids expensive compromises.
Start by confirming the pool type, finished waterline, overflow location, and final deck levels. The overflow inlet must sit below the coping line but above the normal operating level. If it is set too low, the pool loses water unnecessarily. If it is too high, water may reach the deck before the drain begins to work.
The discharge destination deserves equal attention. The drain may connect to an approved stormwater system, a site drainage network, or another locally permitted point of disposal. It should never be casually routed toward the building foundation, neighboring property, planted areas that cannot tolerate chlorinated water, or a location where it can cause erosion. Local authority requirements and the project plumbing design should always govern the final connection.
In Dubai and across the UAE, high temperatures, intensive irrigation, hardscape-heavy plots, and occasional heavy rain events make site drainage coordination especially valuable. Water that appears minor at the pool edge can quickly become a costly issue when it has nowhere controlled to go.
Establish the Finished Levels First
Drainage failures often begin with incorrect levels rather than poor-quality equipment. The pool waterline, overflow inlet, coping, deck slope, linear drainage, and nearby door thresholds must work together. A professional team uses verified benchmarks and checks dimensions after structural work, waterproofing, tile installation, and final finishing.
Do not assume that a drain at the pool wall will compensate for a flat or inward-sloping deck. The pool overflow line manages excess pool water. Surface drainage around the pool must independently direct rainwater away from structures and walking areas.
Select Quality Components and the Right Pipe Size
The overflow assembly should be specified for pool use and compatible with the pool shell, finish, and plumbing material. Premium-grade fittings, solvent-welded joints where applicable, reliable seals, and corrosion-resistant visible grilles or covers all contribute to long-term performance. Low-cost components hidden behind finished surfaces create an unnecessary maintenance risk.
Pipe diameter depends on the expected flow, length of the run, number of bends, and discharge configuration. A small residential pool with a short, direct line has different requirements from a large hotel pool or a deck-level installation. Oversimplifying pipe sizing can lead to slow discharge, backed-up water, or noisy flow during heavy use.
The pipe must maintain a continuous fall toward its discharge point. As a practical principle, the route should be short, direct, and free from low spots where debris or stagnant water can collect. Excessive elbows reduce flow and make cleaning more difficult. Where the layout requires direction changes, plan access points so the line can be inspected and cleared without breaking finished surfaces.
For an overflow channel system, the drain network may also require a balance tank, surge capacity calculations, and correctly sized return pipework. This work should be handled as a complete hydraulic package, not as a collection of individual products.
How to Install a Pool Overflow Drain Step by Step
A reliable installation follows a controlled sequence. The exact method varies with the pool construction system, but the technical priorities remain consistent.
First, mark the approved overflow elevation using the project benchmark. Install the overflow fitting or channel body securely so it will not shift during concrete placement, backfilling, or tile work. Its face should align with the intended finished surface, allowing for tile adhesive, plaster, stone, or coping thickness.
Next, connect the drain pipe with the designed fall toward the approved discharge route. Support the pipework properly and protect it from movement or crushing before the deck is completed. Every joint must be clean, correctly prepared, and allowed to cure according to the material requirements. Poor joint preparation is a common source of hidden leaks.
Before covering the line, perform a water test. Fill or flood the overflow point and confirm that water travels freely to the discharge location without pooling, leakage, or backflow. This is the moment to correct an inadequate slope, obstruction, or misplaced connection. Once concrete, tile, or landscaping is complete, the same repair becomes far more disruptive.
After testing, complete waterproofing around penetrations with a system compatible with the pool construction and finish. The pipe penetration is not merely a plumbing connection. It is a vulnerable point in the waterproof envelope and must be detailed with the same precision as lights, returns, skimmers, and suction fittings.
Finally, complete the visible finish and test the pool at its normal operating level. Verify that the overflow activates at the intended height, that the surrounding deck remains protected, and that all covers or grilles sit securely and flush with the design.
Avoid These Costly Installation Errors
The most common mistake is sending overflow water into an unsuitable drainage point. Chlorinated or treated water may be restricted from certain discharge locations, and poor routing can damage landscaping or undermine paving. Confirm the approved destination before pipework starts.
Another frequent issue is relying on a shallow or inconsistent pipe slope. A line may appear acceptable during a quick test, then perform poorly once debris accumulates or a larger volume of water enters the system. Maintaining the specified slope throughout the full route is essential.
Waterproofing shortcuts also cause long-term problems. A drain fitting that is mechanically secure can still leak around its perimeter if the waterproofing transition is incomplete. This can cause moisture migration behind finishes, efflorescence, tile failure, or damage to adjacent structural elements.
Finally, avoid burying every access point. A premium pool installation should be elegant, but it should also support efficient maintenance. Cleanouts and inspection points can be positioned discreetly within service zones, planting areas, or equipment spaces while remaining available when needed.
When Professional Design Is the Better Choice
A straightforward overflow outlet on a small pool may seem simple, yet the design becomes more demanding when the property includes a basement, retaining walls, a rooftop deck, a zero-edge pool, integrated fountains, or dense surrounding hardscape. Commercial properties add heavier bather loads, stricter maintenance expectations, and greater consequences if water reaches guest walkways or interior finishes.
Professional specification brings together hydraulic capacity, plumbing quality, waterproofing detail, equipment access, and visual integration. Aquatic Pools and Fountains supports premium pool projects with quality drainage fittings, technical guidance, installation support, and dependable maintenance planning for properties that cannot afford drainage problems after handover.
A properly installed overflow drain stays almost invisible during daily use. That is precisely the result to aim for: water controlled at the correct level, finishes protected, and a pool environment that continues to perform with the same elegance it showed on opening day.